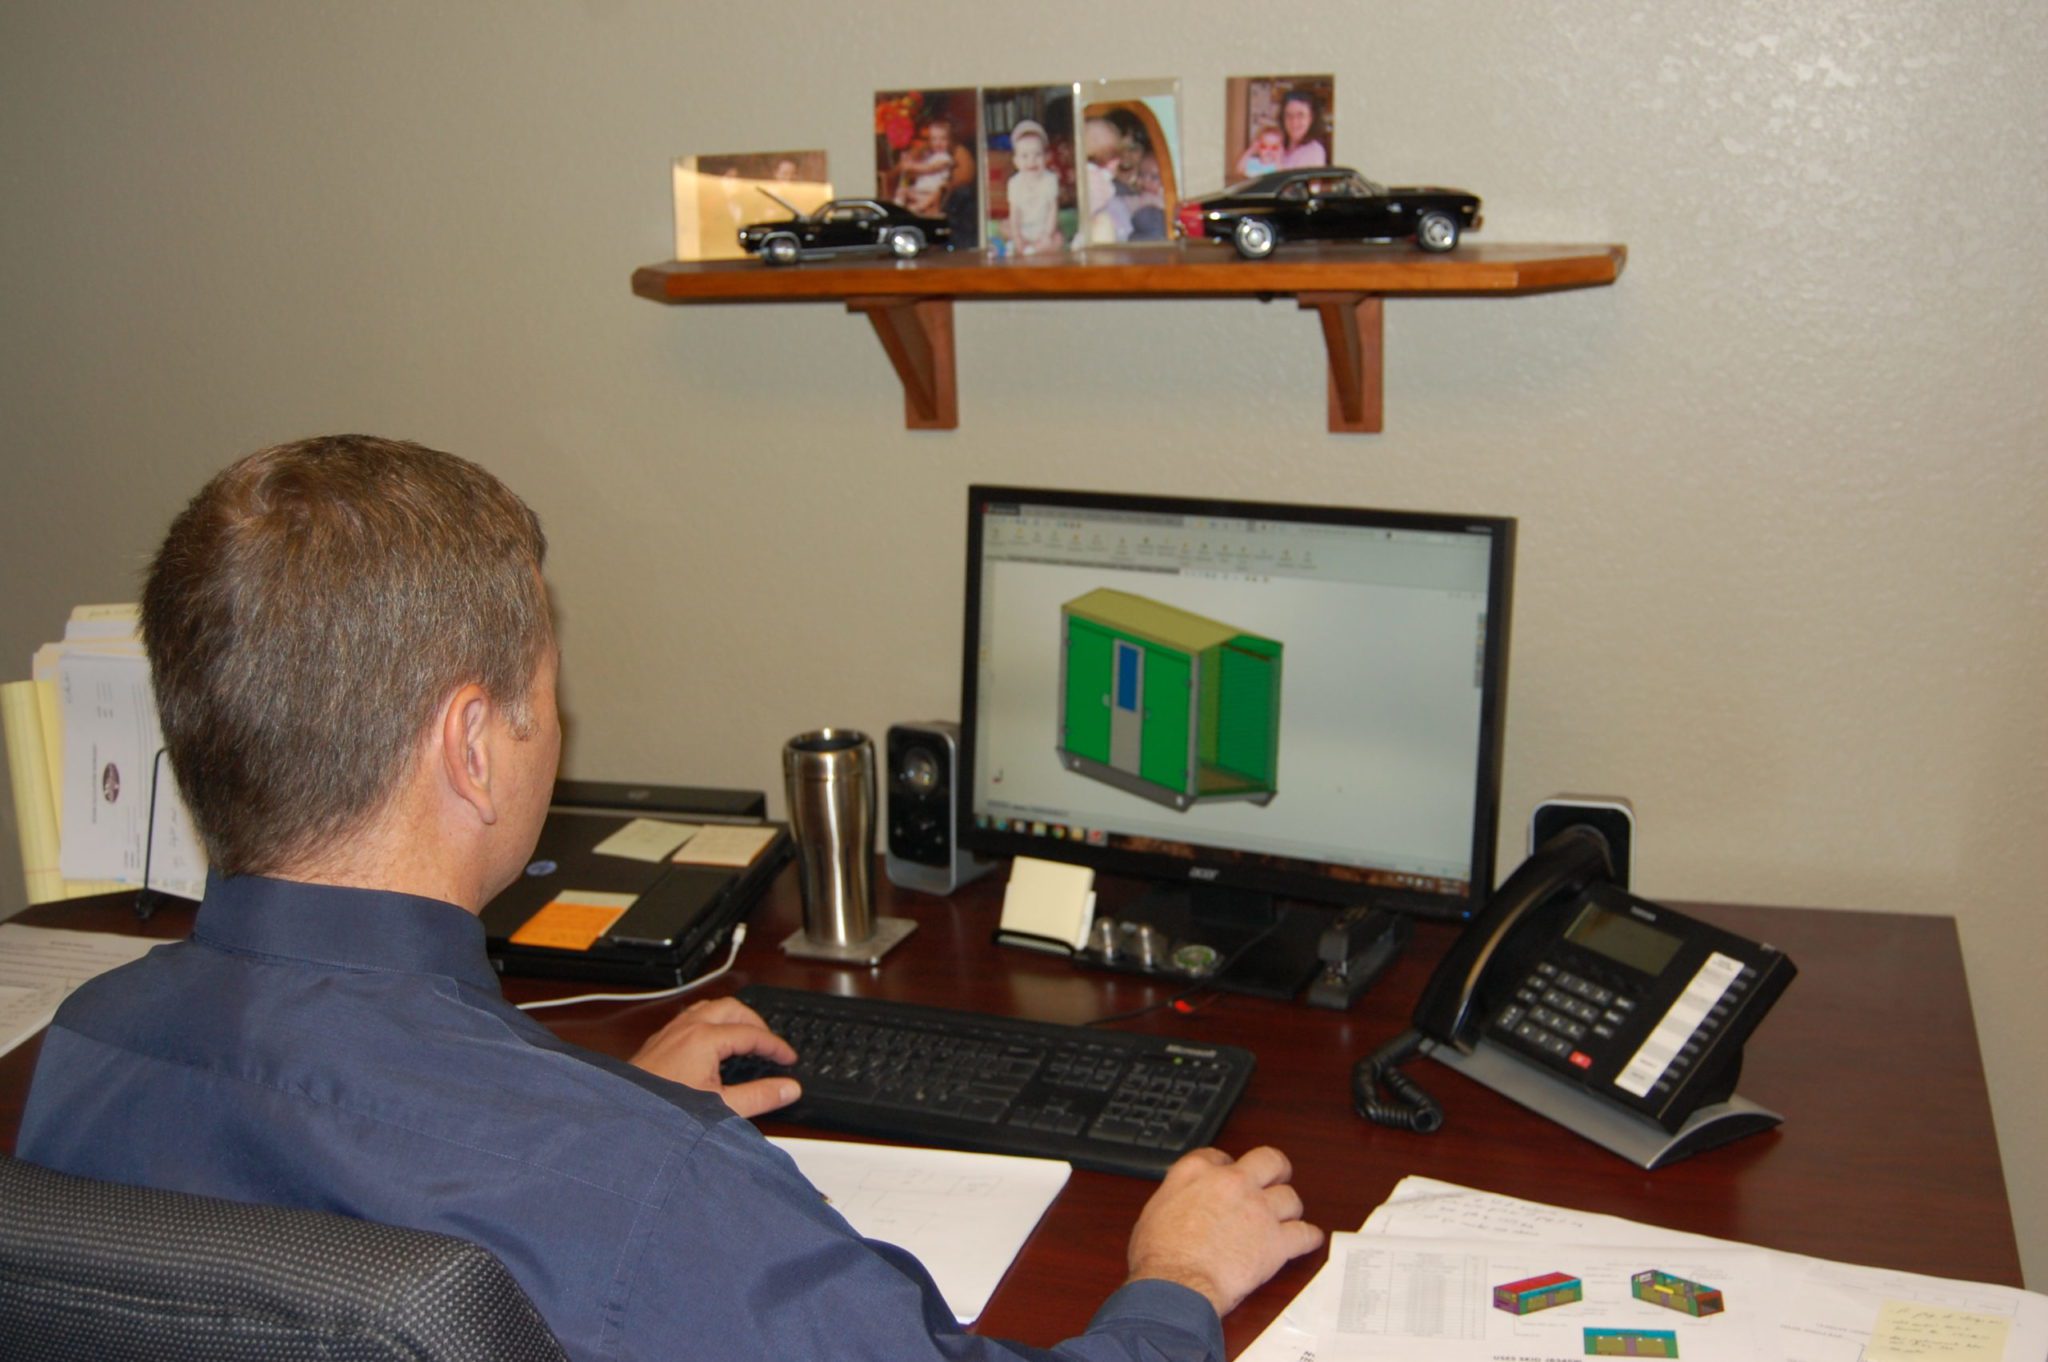
Blueprints are the most important means of communicating the design of metal fabrication parts between customers, engineers, and shop floor personnel.
The ability to read blueprints is an important skill for everyone involved in the manufacturing process.
Blueprints can be broken down into 4 areas:
1) Bill of Materials (BOM);
2) Title Block;
3) Revision Table;
4) Body of the Drawing.
The Bill of Materials (BOM) is used to identify the materials required to make the part. It also usually gives the number of parts required. A part made from the wrong material is often a scrapped part. Verify the materials given to the Bill of Materials every time.
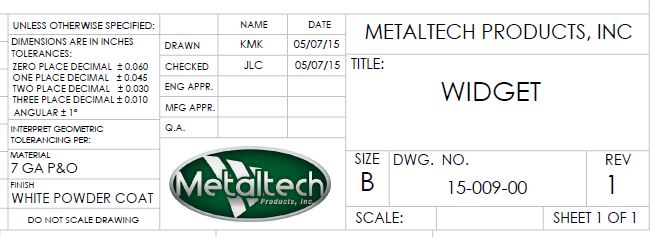
The Title Block contains the drawing / project title, the drawing number, the revision level, part tolerances, and the initials of the designer. The drawing number and current revision level should always be verified with the job. This will make sure the parts will include any changes.
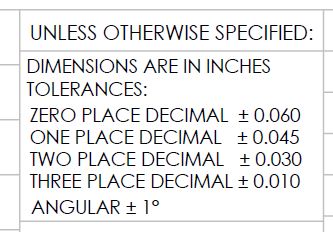 The tolerance block gives the acceptable deviation from the nominal dimensions given on the drawing.
Note that tolerances placed at the dimensions override Title Block tolerances. Finally, the designer’s initials identify the person responsible for the drawing.
The Revision Table is used to identify the changes made from the previous version of the drawing. The changes are usually described in this table and will give the history of the changes to the part. Each revision should have a unique symbol, such as a triangle, octagon, etc., which further identifies the area affected by the revision.
The Body of the Drawing will show the outline of the part and the final dimensions required. Several views may be required to completely describe the part. The front view is usually placed in the drawing first, then side and top views are placed as needed.
Here at Metaltech Products, Inc., we use third-angle projection to show the relation between views. The best way to describe this is to imagine the first view is in the bottom of a bowl. To get the right side view, the part is moved to the right from the bottom of the bowl until the right side is visible. To get the left side view, the part is moved to the left from the bottom of the bowl until the left side is visible. Use the same method to get the top and bottom views.
Section, detail, and auxiliary views will be discussed in future articles.
Mastering blueprint reading is a valuable skill in the metal fabrication industry. Being able to read blueprints correctly will greatly affect the quality of the parts produced, and will make sure the parts meet customers’ requirements.
Rob Briscoe, BS Mechanical Engineering
Metaltech Products, Inc.
